How to Install the Tesla Powerwall 2: A Detailed Guide
Are you considering the Tesla Powerwall 2 for your home? This revolutionary AC battery system offers reliable energy storage, optimised solar self-consumption, and backup power during outages. In this blog post, we’ll walk you through the detailed installation process to ensure you get the most out of your Powerwall 2.
Pre-Installation Preparation
1. Site Assessment
Before installing the Powerwall, a thorough site assessment is crucial:
Evaluate Location: Identify a suitable location, typically a wall in your garage or outside. Ensure it’s a cool, dry place away from direct sunlight.
Space Requirements: Verify there’s enough space for the Powerwall unit and any additional equipment like the Gateway.
2. Energy Needs Analysis
Understanding your energy needs will help determine the number of Powerwalls required:
Determine Energy Usage: Assess your household’s energy consumption to decide the capacity needed.
Load Prioritisation: Identify critical appliances and circuits that need power during an outage.
3. Permits and Regulations
Compliance with local building codes and regulations is essential:
Check Local Requirements: Obtain necessary permits and ensure all local codes are followed.
Installation Process
4. Selecting a Certified Installer
Choosing a certified installer is key to a successful installation:
Pro-Teck: experts and certified Tesla installers with long-term experience, to ensure proper setup and warranty protection.
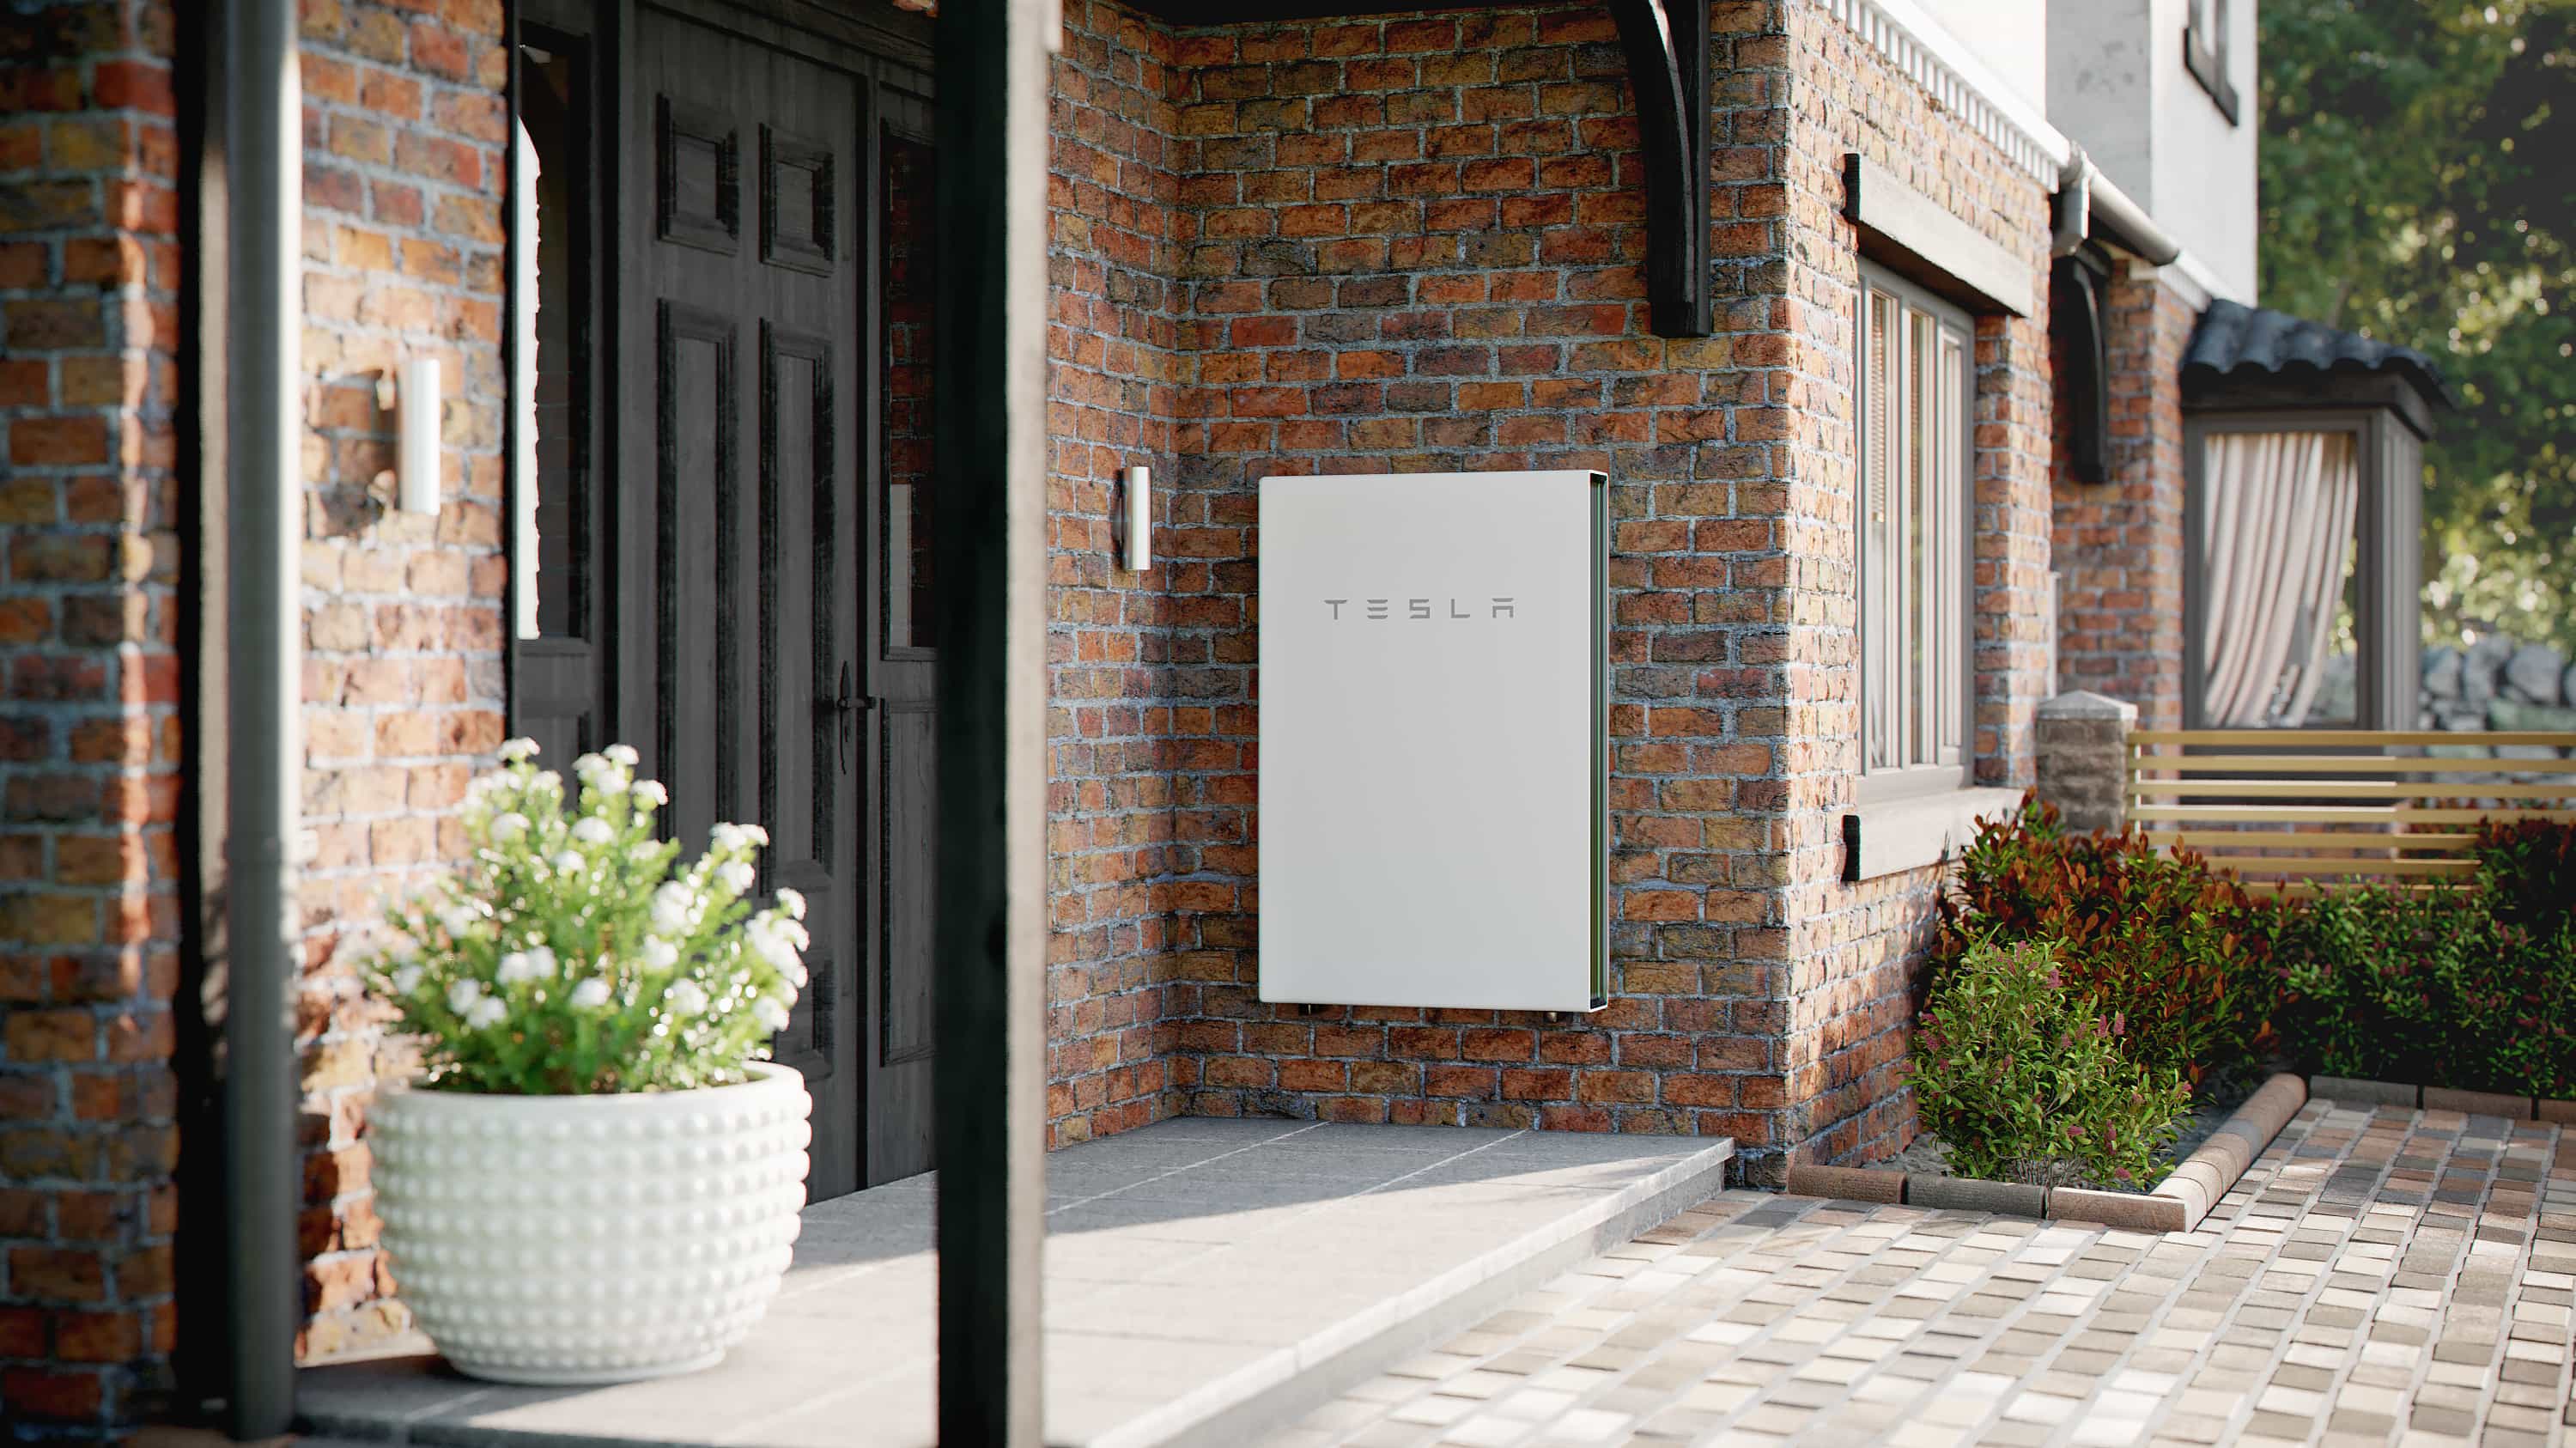
5. Mounting the Powerwall
Mounting the Powerwall securely is the next step:
Prepare Mounting Area: Clear the installation area and mark the mounting points.
Install Mounting Bracket: Attach the mounting bracket to the wall or floor, ensuring it’s level.
Mount the Powerwall: Place the Powerwall onto the mounting bracket and secure it.
6. Electrical Connections
Proper electrical connections are critical for functionality:
Turn Off Power: Shut off the main power supply for safety.
Connect to Main Panel: Run conduit and wiring from the Powerwall to the main electrical panel.
Install the Gateway: Install the Tesla Gateway to manage electricity flow and enable communication with the app.
Connect Circuit Breaker: Install a dedicated circuit breaker for the Powerwall in the main panel.
7. Integration with Solar Panels
If you have solar panels, integration is necessary:
Connect to Inverter: Link the Powerwall to the solar inverter.
Configure Solar Settings: Ensure settings are optimised for charging and discharging the Powerwall.
8. System Configuration
Configuring the system ensures optimal performance:
Power On the System: Restore power and turn on the Powerwall.
Software Setup: Use the Tesla app to configure system settings, including backup power and time-based control.
Firmware Updates: Install any available firmware updates.

Post-Installation Steps
9. Testing and Commissioning
Verify the installation through thorough testing:
System Check: Ensure all connections are secure and the Powerwall functions correctly.
Test Backup Mode: Simulate a power outage to confirm the Powerwall provides backup power as intended.
10. Monitoring and Maintenance
Ongoing monitoring and maintenance keep the system running smoothly:
App Monitoring: Track performance and energy usage via the Tesla app.
Regular Inspections: Periodically inspect the Powerwall and components for wear or issues.
Firmware Updates: Keep the system updated for optimal performance.
Final Considerations
Customer Support: Provide Tesla customer support contact information for any post-installation questions.Warranty Information: Ensure you understand the warranty terms and conditions.User Training: Briefly train on using the Tesla app, interpreting data, and managing settings.
Conclusion
Installing a Tesla Powerwall 2 is a significant step towards energy independence and sustainability. By following this detailed guide, you can ensure a smooth and effective installation, unlocking the full potential of your Powerwall 2. Ready to get started? Contact a Tesla-certified installer today and take the first step towards a more reliable and eco-friendly energy future.
24 May 2024
